Sourdough bread is something you learn by doing. You’re not going to make a great loaf by reading a recipe or hunkering down with a cookbook; you’re going to have to get your hands in the dough, and you might have to try it a few times.
Let’s discuss what Sourdough Bread is
Sourdough bread is the bread that has been leavened naturally, meaning it has been leavened by a sourdough starter as opposed to by commercial yeast or a chemical leavening agent such as baking powder or baking soda.
What is a Sourdough Starter?
It’s like a baby, very innocent, humble and delicate. A sourdough starter is a fermented mix of flour and water containing wild yeast and bacteria (lactobacilli). Provided it is healthy and active, a sourdough starter is what will make your bread rise. A fully developed starter ensures a good rise and good flavor development in your sourdough bread.
Sourdough starter preparation
For making a starter you only need 3 ingredients: flour (100%), water (68%), and yeast (2%).
Mix all the ingredients properly and left it for fermentation for 8-12 hours. After fermentation, you can use it as a starter culture for your sourdough. You can also store it in the fridge for future use.
Now let’s start the preparation of the sourdough bread –
Mixing
For sourdough preparation, you only need flour, water, preferment, salt and bread improver
Prepare the dough. And mix it until we can stretch the dough 2-3 cm without breaking apart.
This is the indicator of proper dough mixing.
Ingredient list
All Purpose Flour- 100%
Water – 76%
Starter – 40%
Salt – 2%
Bread Improver – 0.1%
Bulk Fermentation
After mixing, keep the dough in the greased vessel and leave it for 100 min. During the first two hours of the bulk fermentation, you’ll perform a series of stretches and folds, which will give the dough strength and elasticity. After this, your dough is ready for preshaping.
Pre-shaping and bench Rest
Divide the dough according to the desired weight. And shape it and leave it for 20 minutes for bench rest.
Final shaping
Now in this step you can give the desired shape to your sourdough bread. You can use couche for final shaping but I will suggest a benetton basket. Because this will help in retaining the shape of the sourdough loaf.
Proofing
Now, we let the sourdough for final proofing. Proofing is the stage where you let your dough rise after you finished shaping the loaves and before it goes in the oven. Final proofing will take approx 1 hr. Make sure you get it at the right time by giving your loaf a soft poke with your fingertip: it should leave a small indentation and very slowly spring back.
Scoring
This is the most awaited step for someone who is a real sourdough lover, the step where you can put all your creativity out on your bread loaf.
Scoring is pretty important, and not just because it makes your finished loaf look pretty. Besides making your finished loaf pretty, scoring allows the loaf to have a controlled rise while baking.
By scoring your loaf in a pattern, you cut through some of the gluten net, and provide weak points for the dough to expand. Because the dough doesn’t need to push through a thick gluten net, it will expand more quickly and thus result in a larger finished loaf with bigger holes.
Baking Sourdough Bread Loaf
Now, it’s time to give your sourdough loaf a final touch-up! by ‘Baking’ it.
After scoring, your sourdough loaves are ready to bake.
Golden rule: Make sure your oven is preheated at the desired temperature.
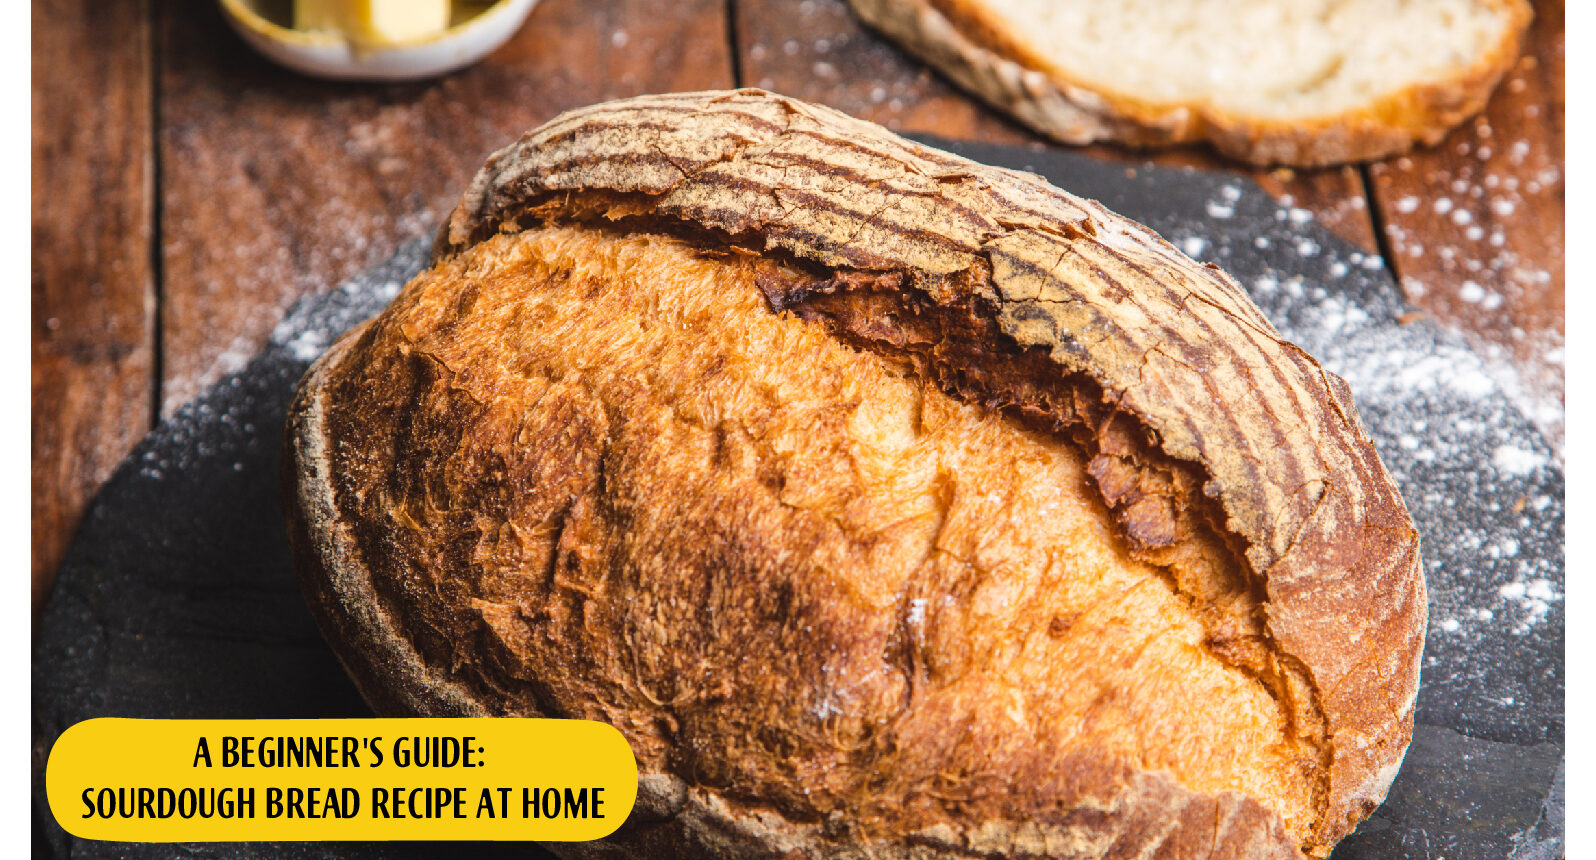
Put your sourdough loaves in a Dutch oven (stone oven) at 240°C and wait to see the magic after 30 minutes or until it turns deep golden brown in color.
Congratulations you nailed it!
Follow these instructions and you will have the tastiest sourdough on your table 🙂